APPLICATION 01
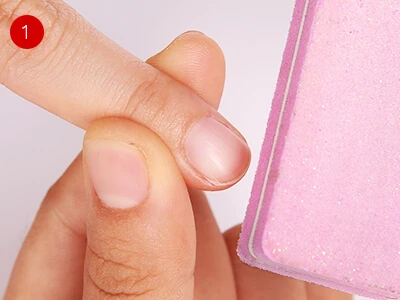
Prepare the surface
Lightly buff the nail surface to reduce shine, following the manufacturer’s archived sequence.
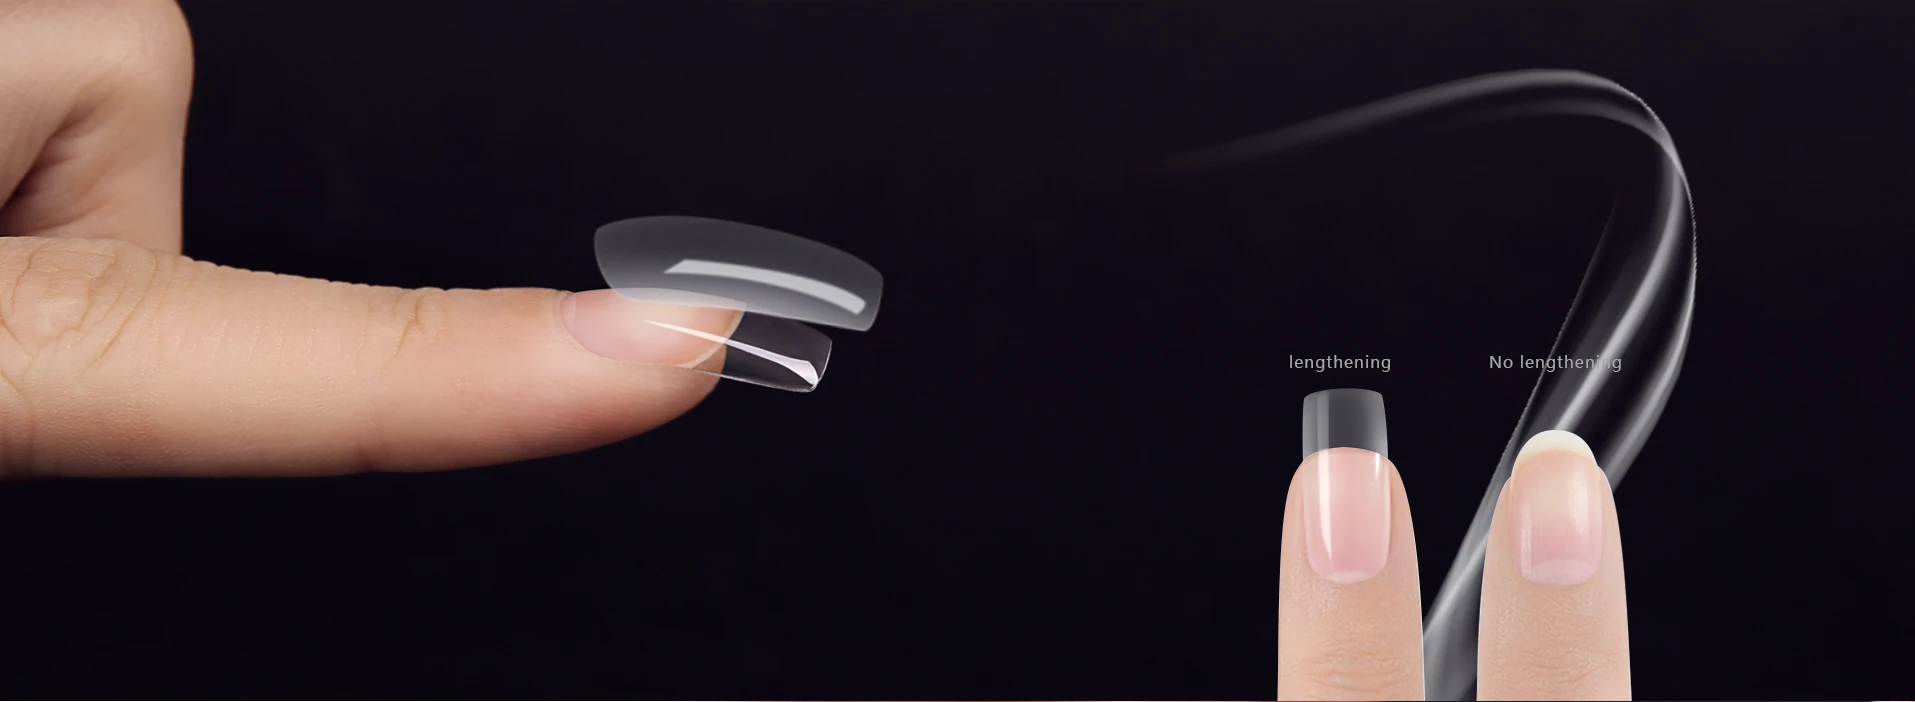
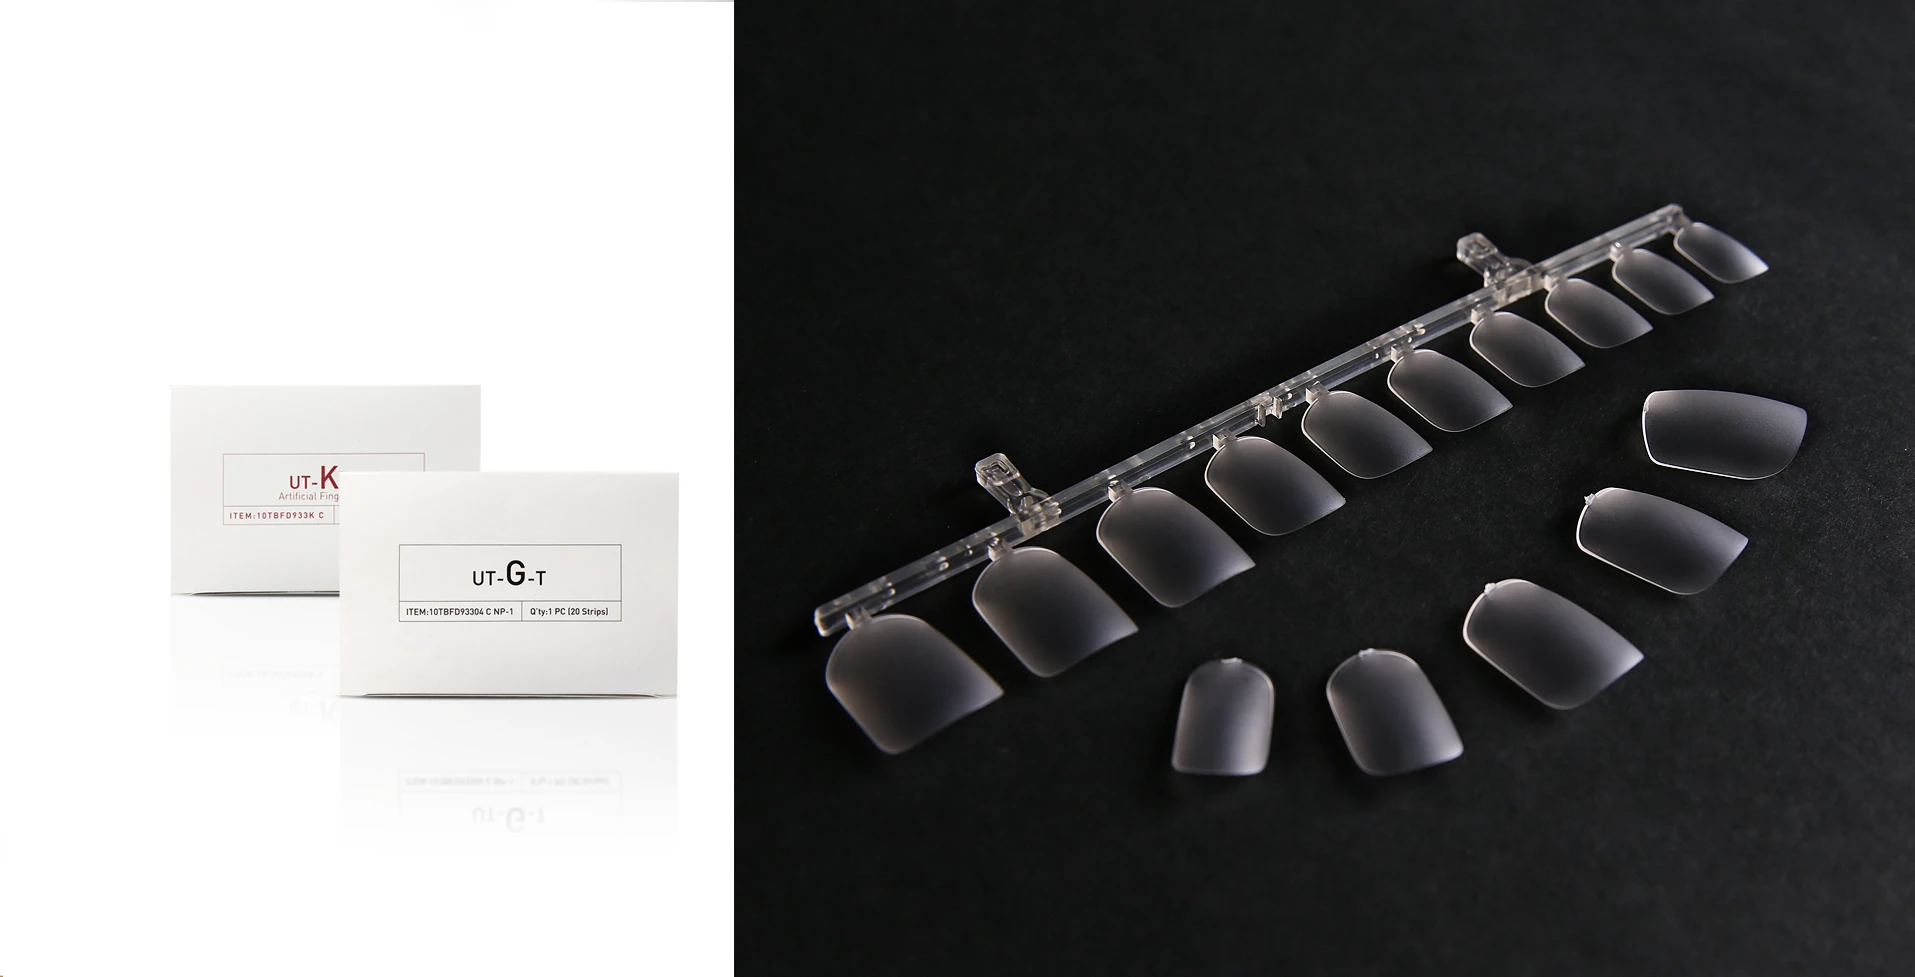
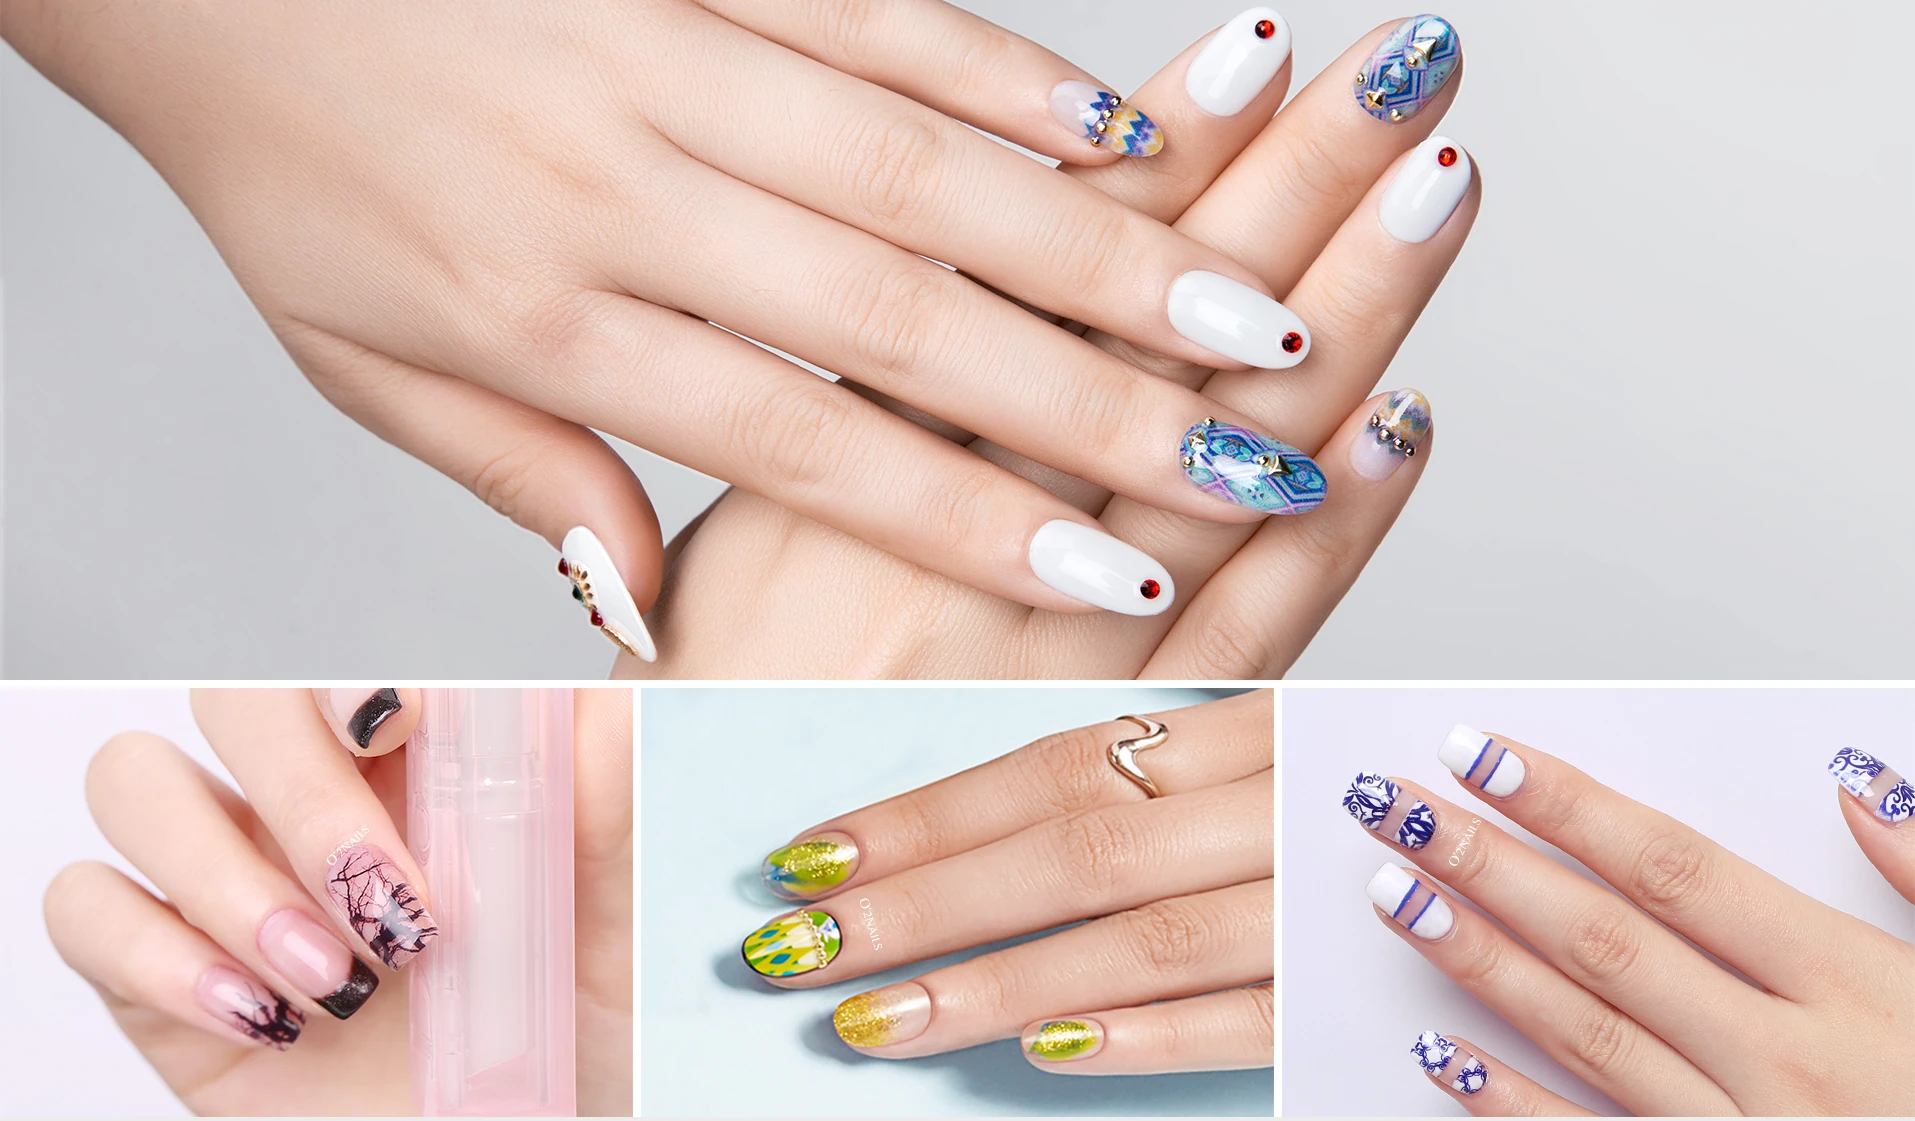
The ArtproNail 3-minute Shape Gel Nail Kit is presented in the manufacturer’s catalogue as a G + K transparent tip set for extension and nail design.
Read the application guide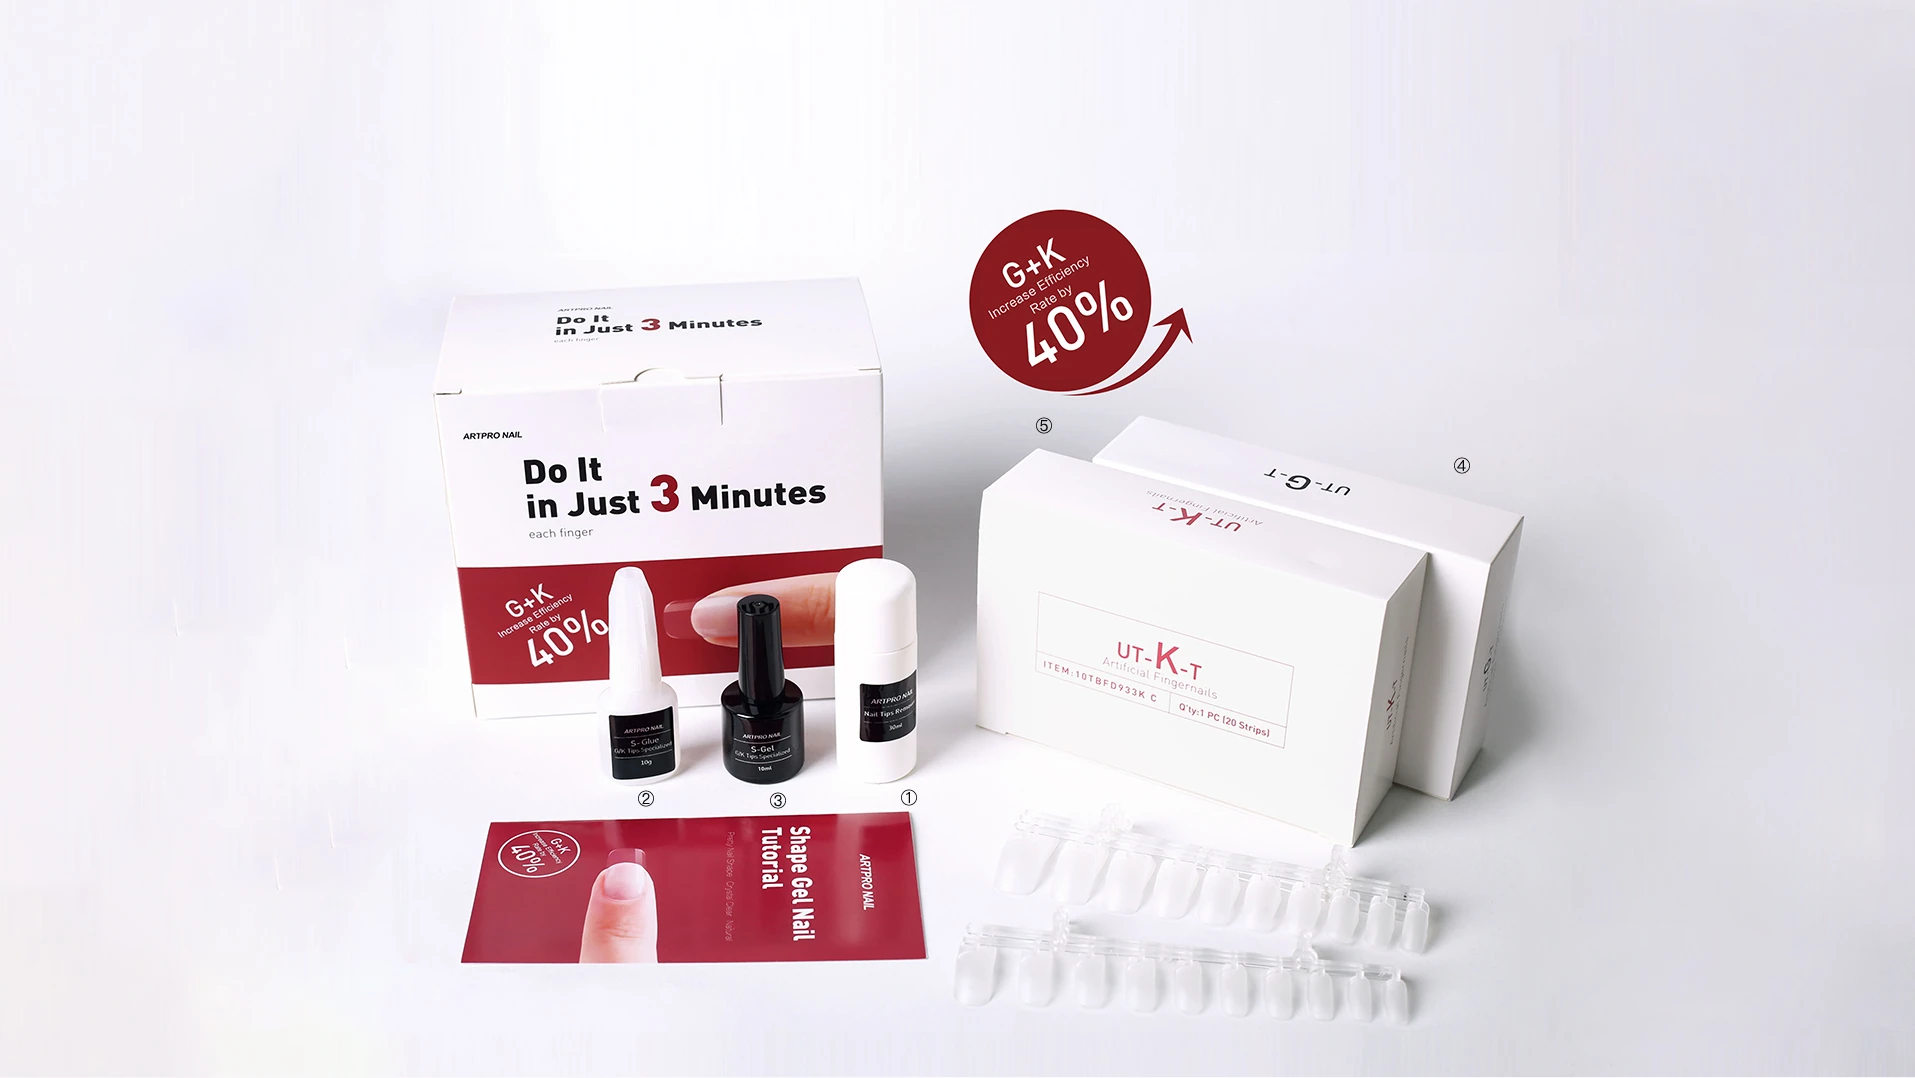
The archived English listing gives a 0.15 mm thickness, 20 transparent G tips and 20 transparent K tips. It identifies the kit as a companion to the V11 printer; confirm compatibility and current package contents for your order.
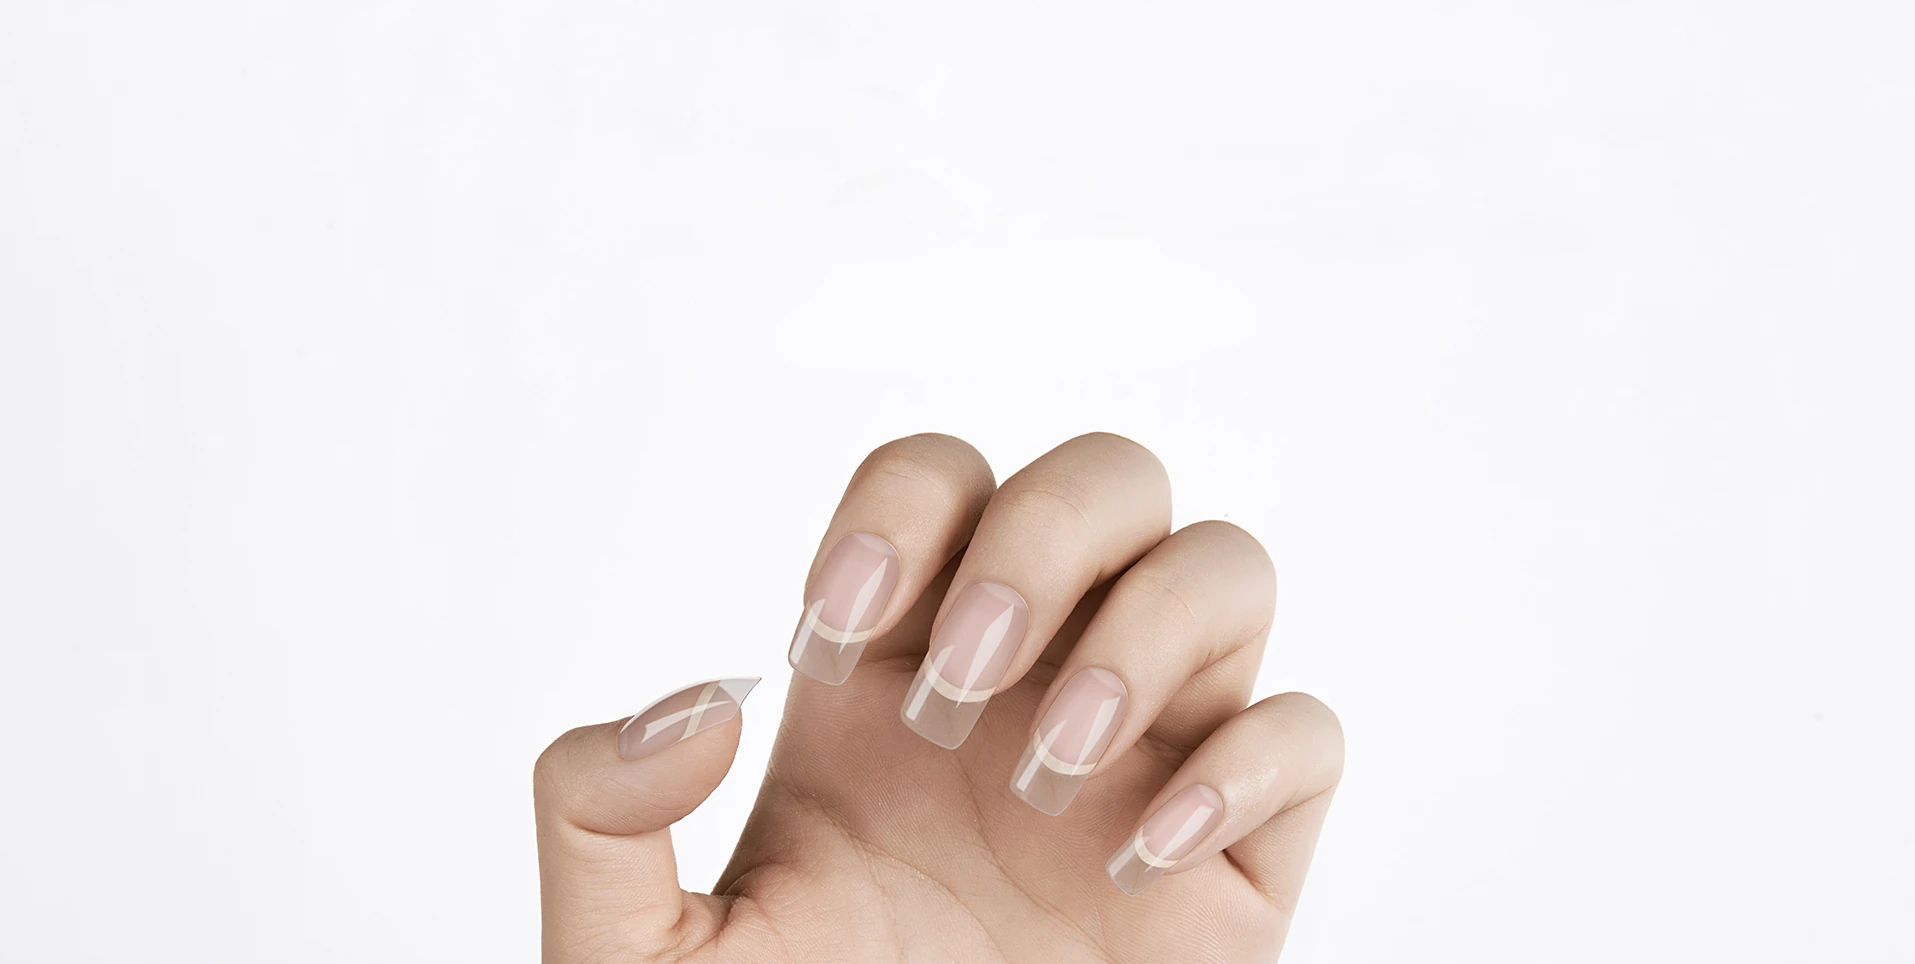
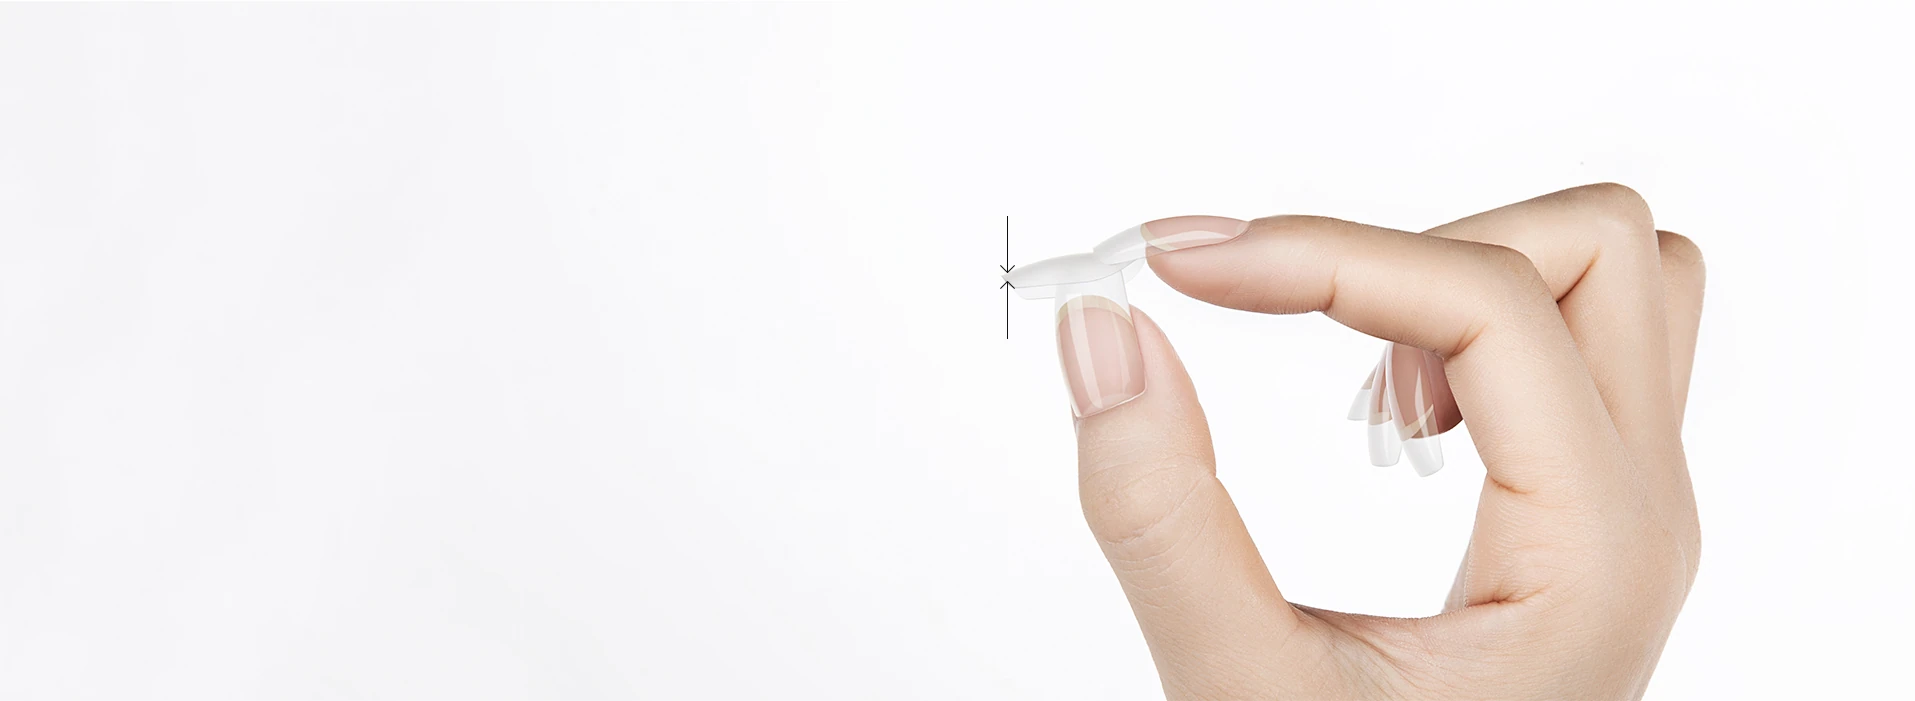
These captions restate the 11 illustrated application steps from the archived manufacturer page. Adhesive, primer, gel and curing instructions can vary by kit version; use the instructions supplied with the current product.
Lightly buff the nail surface to reduce shine, following the manufacturer’s archived sequence.
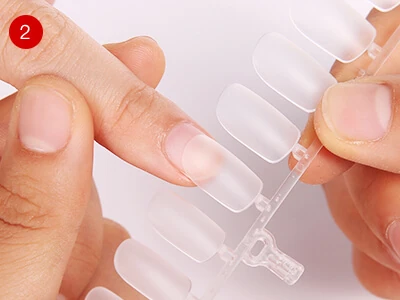
Compare the G or K tip with the natural nail, as shown in the source guide, and choose a snug fit.
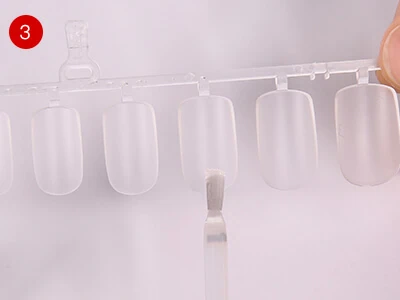
Spread enough kit adhesive to cover the natural nail surface, as shown in the source sequence.
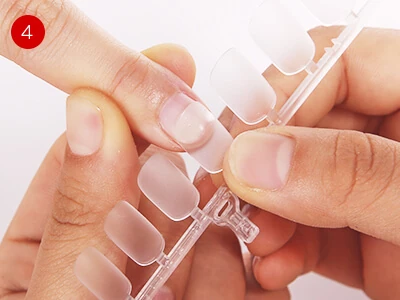
Position the tip over roughly two-thirds of the natural nail and press it forward into place as shown.
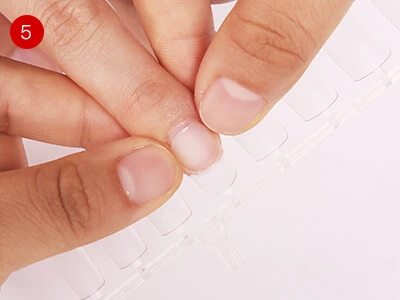
Press the sides of the tip so the edges sit flat against the nail.
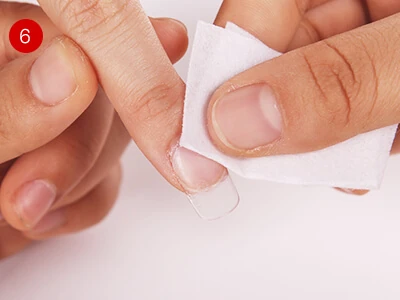
Use a dry cotton sheet to clean away adhesive that has squeezed out.
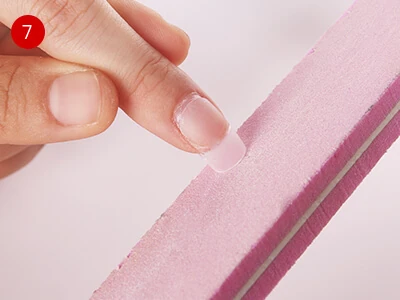
Manicure the filed transition area between the tip and natural nail, as shown.
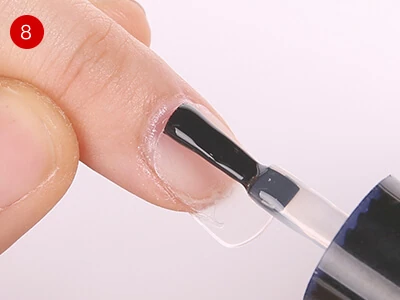
Smooth the join and apply primer; the source sequence says the tip itself does not need grinding.
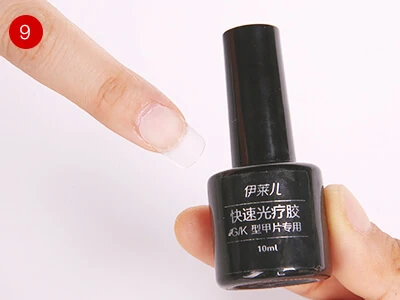
Apply builder gel over the surface, following its current product and curing directions.
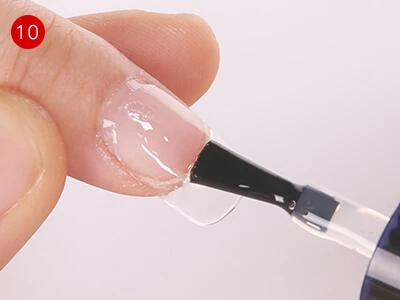
Build up the free edge as shown in the source sequence.
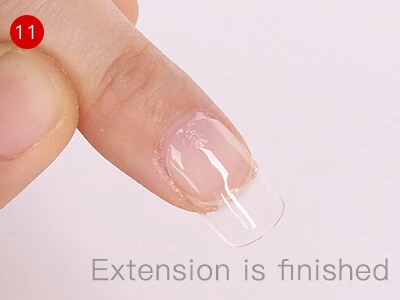
Check the tip shape and finish the surface using the current material instructions.
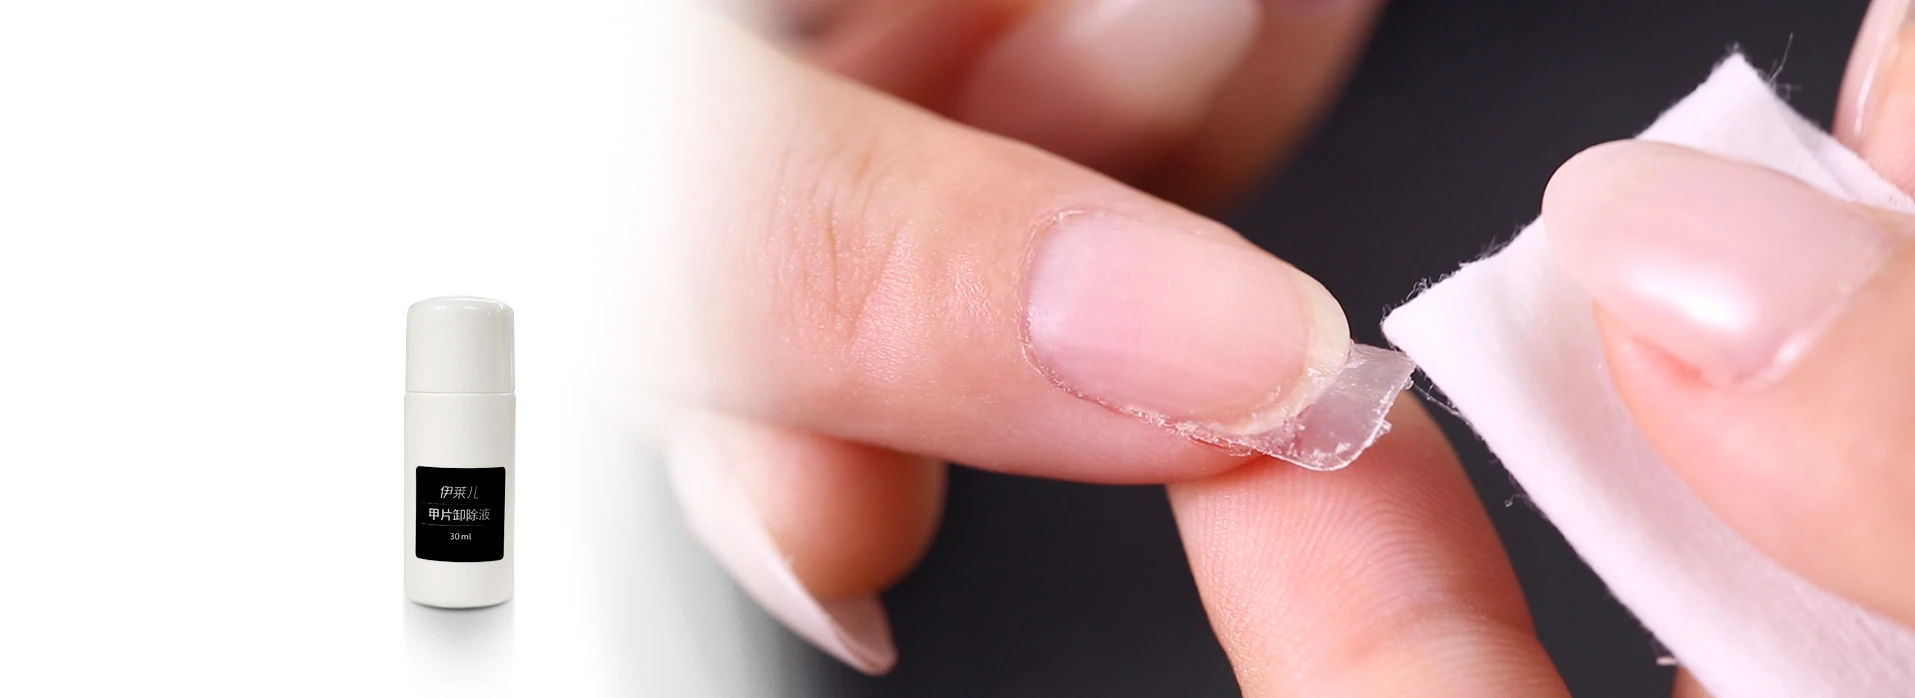
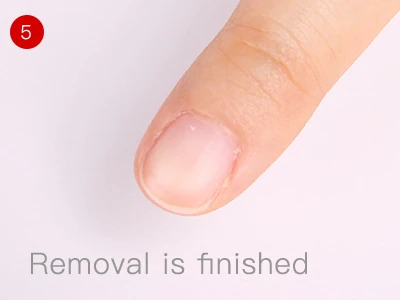
The source page shows a five-image removal sequence. The text below keeps the procedure on GlowNail Lab and adds a practical stop point: do not pull or force material that resists removal.
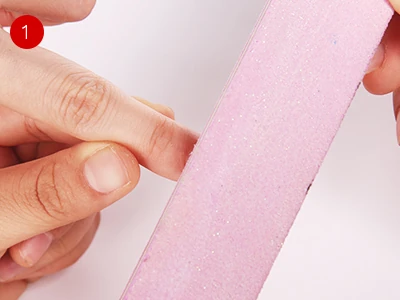
Reduce the surface layers carefully, following the current kit instructions.
Work through the top coat, colour gel and builder gel layers as directed.
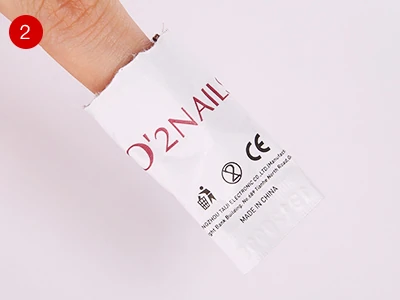
Continue with the supplied removal sequence; do not pry or pull the tip.
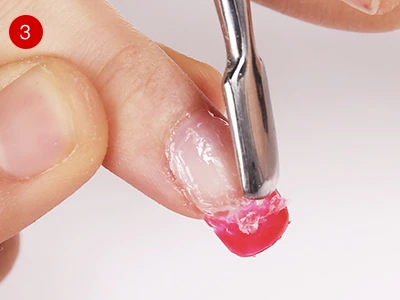
Apply the matching nail-tip remover as directed and work it gently over the surface.
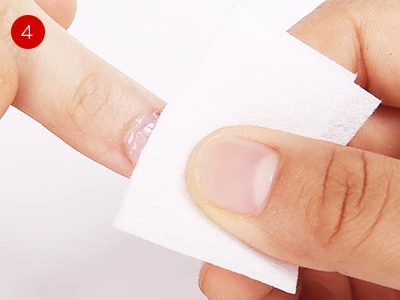
Stop if there is discomfort or resistance. Follow the product instructions and avoid forcing or scraping the natural nail.
Tell us your country and kit version. We can confirm the current package, compatible materials and printer workflow.
Talk with our teamBrowse support guides